
Daylight Factor and Rooflight Ratio: How Much Polycarbonate Roof Area Do You Actually Need?
"10% of the roof" is a rule of thumb, not a specification. Here's how daylight factor actually determines the right rooflight area — and why distribution matters as much as total percentage.
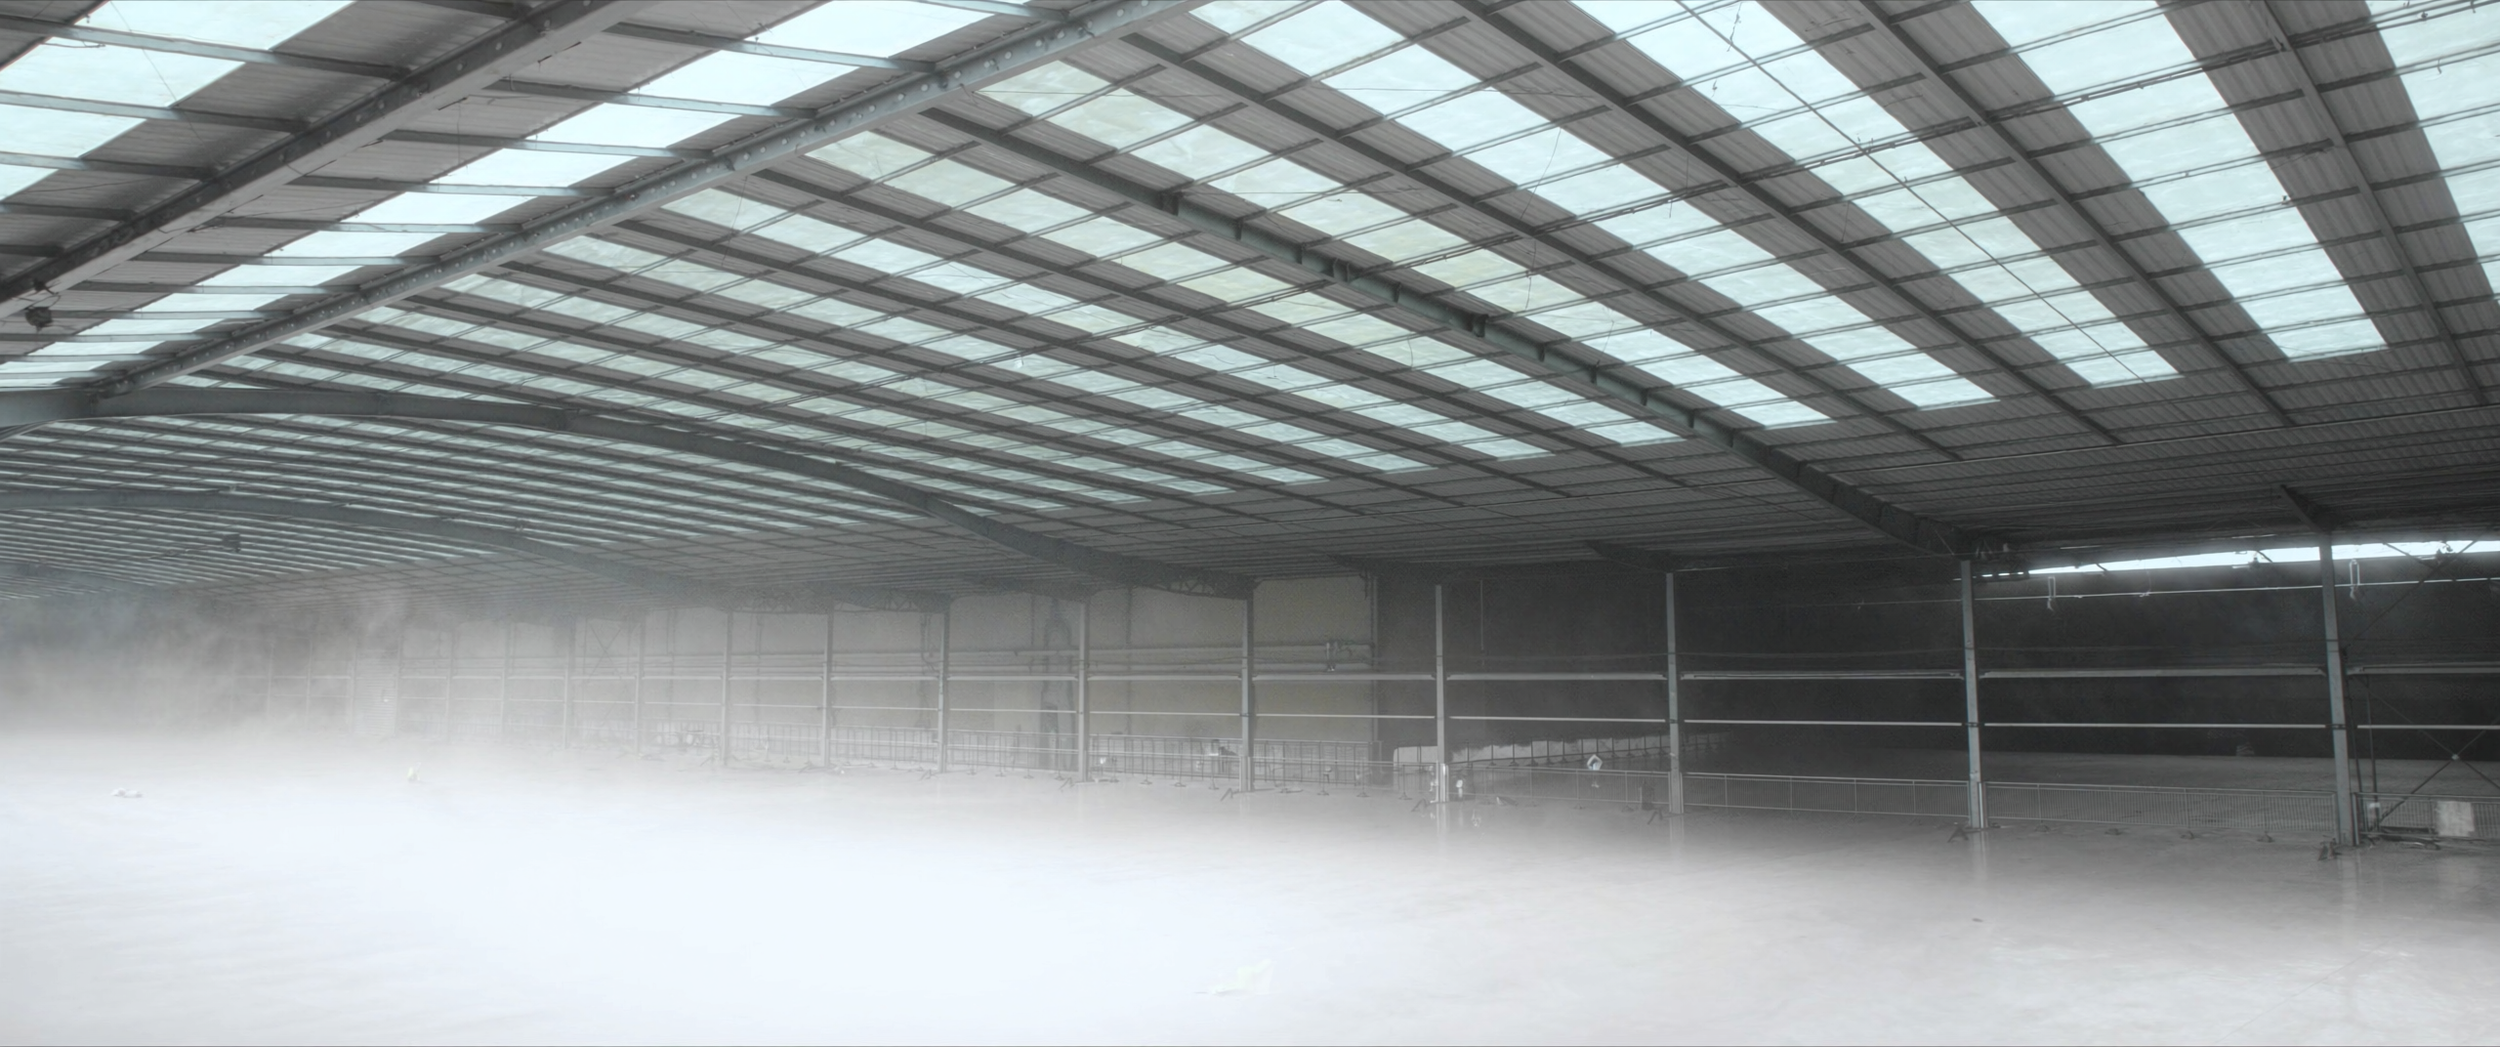
"How much of the roof should be polycarbonate?" is one of the most common questions we get from contractors and architects sizing a rooflight scheme — and one of the most commonly answered wrong. The usual response, repeated across vendor brochures and site conversations, is a flat rule: "10% of roof area," or sometimes "15%." Neither number is meaningless, but treating it as a universal answer produces daylighted roofs that are either dim and unconvincing or bright to the point of glare and heat discomfort.
This post explains what actually determines rooflight area — starting with daylight factor, the metric behind the rule of thumb — and gives you a practical way to size a scheme correctly rather than guessing.
What Is Daylight Factor?
Daylight factor (DF) is the ratio of the light level inside a building to the light level outside under an overcast sky, expressed as a percentage. A DF of 2% means the illuminance at a given point inside is 2% of the illuminance available outdoors at that moment.
Daylight factor is deliberately calculated using overcast sky conditions rather than direct sun — this makes it a stable, comparable metric independent of season, time of day, or sun position. It answers a design question: "on a dull, overcast working day, will this space have usable daylight?" rather than "what does this room look like on a bright afternoon?"
Typical target daylight factors:
- 2–5%: Well daylit space, artificial lighting rarely required during the day (warehouses, workshops, sports halls)
- 1–2%: Daylight is present and useful but supplementary lighting is still commonly needed (offices, classrooms)
- Below 1%: Space will feel dim and will depend on artificial lighting for most tasks
Why "10% of Roof Area" Is a Starting Point, Not an Answer
The 10–15% rule exists because, for a typical single-storey industrial shed with a reasonably reflective interior and rooflight panels of average light transmission, that ratio tends to land somewhere near a workable daylight factor. But every one of those assumptions is a variable that changes the real number your project needs:
| Variable | Effect on required rooflight % |
|---|---|
| Panel light transmission (LT) | Lower LT (e.g. 25–35% diffused/opal) needs more area for the same daylight factor than higher LT (55–65%) clear or lightly tinted sheet |
| Roof height above the working plane | Taller buildings spread the same light over a larger floor area, reducing daylight factor at floor level for the same rooflight % |
| Internal reflectance (wall/floor colour) | Light-coloured interiors bounce more daylight around, effectively increasing daylight factor without adding rooflight area |
| Building depth / span | Deep-plan buildings need proportionally more rooflight, or a different distribution, to daylight the centre of the floor plate evenly |
| Orientation and roof pitch | Changes solar heat gain and glare risk more than daylight factor itself — see our orientation guide |
Two buildings with an identical 12% rooflight ratio can deliver very different lit results depending on these factors. That's why we treat 10–15% as a sizing starting point for a budget estimate — never as a specification.
Distribution Matters as Much as Total Area
A mistake we see almost as often as wrong area is wrong distribution. Concentrating the full rooflight allowance into one large block — a single continuous run down the centre of the roof, for instance — creates a bright band with dark zones on either side, rather than even daylight across the floor.
The better approach is to distribute rooflight panels evenly across the roof plane, generally as individual panels or short runs spaced at regular bay intervals rather than one large concentration. This produces more even lux distribution and avoids the strong light/dark contrast that causes eyes to struggle adjusting between zones — a common complaint in poorly planned warehouse daylighting.
A Practical Sizing Process
Rather than picking a percentage and hoping, we recommend this sequence for any project beyond a small shed:
- Set a target daylight factor based on building use — see our recommended lux levels by building type guide for reference targets by space type.
- Choose panel LT matched to the application — high LT for daylight-priority spaces like cold storage or general warehousing, moderate or diffused LT where glare control matters, such as offices or assembly areas. Our glare guide covers this trade-off.
- Estimate rooflight % using the 10–15% baseline, adjusted up or down for roof height, interior reflectance, and building depth using the table above.
- Distribute panels evenly across bays rather than clustering them.
- Verify with simulation for any project where daylighting is a stated design requirement, not a nice-to-have. Daylight modelling tools can confirm the actual daylight factor and lux levels achieved before the roof is built, not after.
The rule of thumb gets you a budget number. Simulation gets you a specification you can defend.
What Happens When You Get It Wrong
Under-sizing rooflight area is the more common mistake in cost-conscious projects — the roof ends up needing supplementary lighting on every working day, defeating the purpose of daylighting in the first place and adding an ongoing energy cost that a correctly sized scheme would have avoided. Our warehouse energy savings post covers what that gap actually costs over time.
Over-sizing is less common but more expensive to fix: excess rooflight area, especially in high-LT clear sheet on an east- or west-facing pitch, produces glare and solar heat gain that often ends with someone applying reflective paint or shade cloth over skylights a few years after installation — permanently undoing the daylighting investment.
The Question to Ask Before You Finalise a Rooflight Layout
Before locking a rooflight percentage into a BOQ, ask: "What daylight factor does this deliver at floor level, in this specific building, with this specific panel?" If the honest answer is "we used 12% because that's standard," it's worth a simulation pass before the roof sheets are ordered. A rooflight layout is far cheaper to adjust on paper than to retrofit after installation.
Coxwell's technical team offers daylight sizing support for architects and contractors specifying rooflight schemes — from LT selection to layout and simulation. Get in touch with your roof plan and building use, and we'll help you size it correctly the first time.
Frequently asked questions
What percentage of a roof should be polycarbonate rooflights?
A common starting estimate is 10–15% of roof area for a typical single-storey industrial building, but the correct figure depends on panel light transmission, roof height, interior reflectance, and building depth. Treat 10–15% as a budgeting baseline, not a specification — verify with a daylight factor calculation or simulation for any project where daylighting performance matters.
What is a good daylight factor for a warehouse or factory?
2–5% is generally considered well daylit for industrial spaces, meaning artificial lighting is rarely needed during normal working hours. Offices and classrooms typically target 1–2%, since supplementary lighting is more commonly acceptable there.
Should rooflights be concentrated in one area or spread across the roof?
Spread evenly. Concentrating rooflight area into one large block creates bright and dark zones with poor lux uniformity. Distributing panels at regular intervals across roof bays produces more even daylight and better visual comfort.
Does higher light transmission mean I need less rooflight area?
Yes, in principle — a higher LT panel transmits more light per square metre of roof opening, so it can achieve the same daylight factor with less area than a lower LT diffused panel. But higher LT also increases glare and solar heat gain risk, so the choice should be based on the application, not on minimising rooflight area alone.
Next step
Speak to a Coxwell engineer.
Our team can help you specify the right system, review your BOQ, or answer technical questions about your project.