Common Polycarbonate Sheet Defects and What Causes Them
Oil canning, delamination, surface hazing, uneven cell walls — polycarbonate roofing defects have identifiable causes. Here's how to recognize them and what they mean for performance and longevity.
Not all polycarbonate panels are manufactured equally. The gap between a well-manufactured standing seam panel and a poor one is not always visible at delivery — but it becomes obvious within a few seasons of installation. This post identifies the most common polycarbonate sheet defects, explains what causes them, and describes how to catch them before they become your problem.
1. Oil Canning
What it looks like: Visible waviness or undulation across the flat face of the panel, most obvious when light catches the surface at an angle. The panel face appears to ripple, giving an uneven, distorted appearance.
What causes it:
Oil canning is a buckling phenomenon caused by residual stress in the panel combined with external loading — typically wind pressure. It is primarily a function of panel geometry:
- Panel width: Wider panels are significantly more susceptible. A 1200mm-wide panel will oil-can far more noticeably than a 900mm panel under the same wind load.
- Inadequate standing seam height: If the seam height is too low (under 15mm), the panel loses its lateral stiffness, making it more likely to flex and visibly wave.
- Insufficient purlin support: If purlin spacing exceeds the system's rated span, panels flex excessively between supports.
- Manufacturing residual stress: Inconsistent extrusion cooling creates internal stresses in the panel that pre-load it toward buckling.
How to prevent it: Specify 900mm panel width, 15–20mm standing seam height, and observe manufacturer's maximum purlin spacing recommendations. Never allow field-modified cleats or purlin spacing adjustments without manufacturer sign-off.
2. UV Delamination of the Co-Extruded Layer
What it looks like: A surface haze that develops over time, often with fine crazing or micro-cracking. In advanced cases, the UV layer appears to separate visually from the base polycarbonate, creating a milky surface appearance.
What causes it:
- Thin or under-specified UV layer: Layers below 40 microns on the top face degrade faster than the base material, creating a mismatch in thermal expansion and visible cracking
- Surface coating instead of co-extrusion: Surface-applied UV coatings do not bond as permanently as co-extruded layers and are more prone to delamination under thermal cycling
- UV layer on wrong side only: Some cheaper products co-extrude UV protection on one side only, leaving the bottom face exposed in environments with high ground reflectance
How to prevent it: Specify co-extrusion (not coating) with documented thickness of 45–50 microns on the top face and minimum 15 microns on the bottom.
3. Cell Wall Collapse or Non-Uniform Cell Structure
What it looks like: When viewed from the end, the cellular structure of a multiwall panel shows collapsed, deformed, or irregularly spaced cell walls. Cells may appear crushed or the overall cross-section may not be rectangular.
What causes it:
- Process instability during extrusion: Temperature or speed variation in the extrusion process causes inconsistent cell formation
- Insufficient raw material quality: Low molecular-weight or recycled polycarbonate resin flows differently than virgin material, making precise cellular formation harder to control
- Die wear: Extrusion dies that have not been maintained produce progressively less consistent cell geometry
Performance impact: Non-uniform cell walls reduce thermal performance (U-value), reduce structural stiffness, and create internal stresses that accelerate cracking. A panel that looks acceptable from the outside may have compromised thermal and structural properties throughout.
How to detect it: Request cross-sectional samples from the batch. Measure cell wall thickness and uniformity. Compare against the manufacturer's published cross-section drawing.
4. Standing Seam Defects: Welded or Glued Seams
What it looks like: A standing seam that appears bonded or fused rather than formed as an integral part of the extrusion. The seam may show visible adhesive lines, colour variation, or lack the uniform profile of an extruded seam.
What causes it:
- Inadequate extrusion capability: Not all manufacturers can produce a true integral standing seam at the required height and consistency. Welding or gluing a seam onto the panel body is used as a shortcut.
- Post-extrusion modification: Some panels have the seam added after extrusion — either by welding or by adhesive bonding of a separate polycarbonate profile.
Why it matters: A welded or glued seam is mechanically inferior to an extruded integral seam. Under wind uplift loading, the bond is the weakest point. In long-term UV exposure, bonding agents degrade at different rates than the base polycarbonate, creating failure points. Specifications should explicitly state: "welding and gluing of standing seams is not acceptable."
5. Deformed or Inconsistent Dimensions
What it looks like: Panels that don't lie flat, have varying widths along their length, show longitudinal camber (bow), or don't align properly with adjacent panels during installation.
What causes it:
- Inconsistent cooling during extrusion: If the panel is cooled unevenly, different sides contract at different rates, creating bow or twist
- Inadequate quality control on dimensional tolerances: Panels are not measured systematically during production, allowing out-of-spec panels to ship
- Improper stacking and storage during transport: Panels stored with insufficient support or exposed to heat during transit can take a set deformation
Performance impact: Deformed panels create installation difficulties, gap inconsistencies at joints, and — in standing seam systems — poor connector engagement, which directly reduces wind uplift resistance and watertightness.
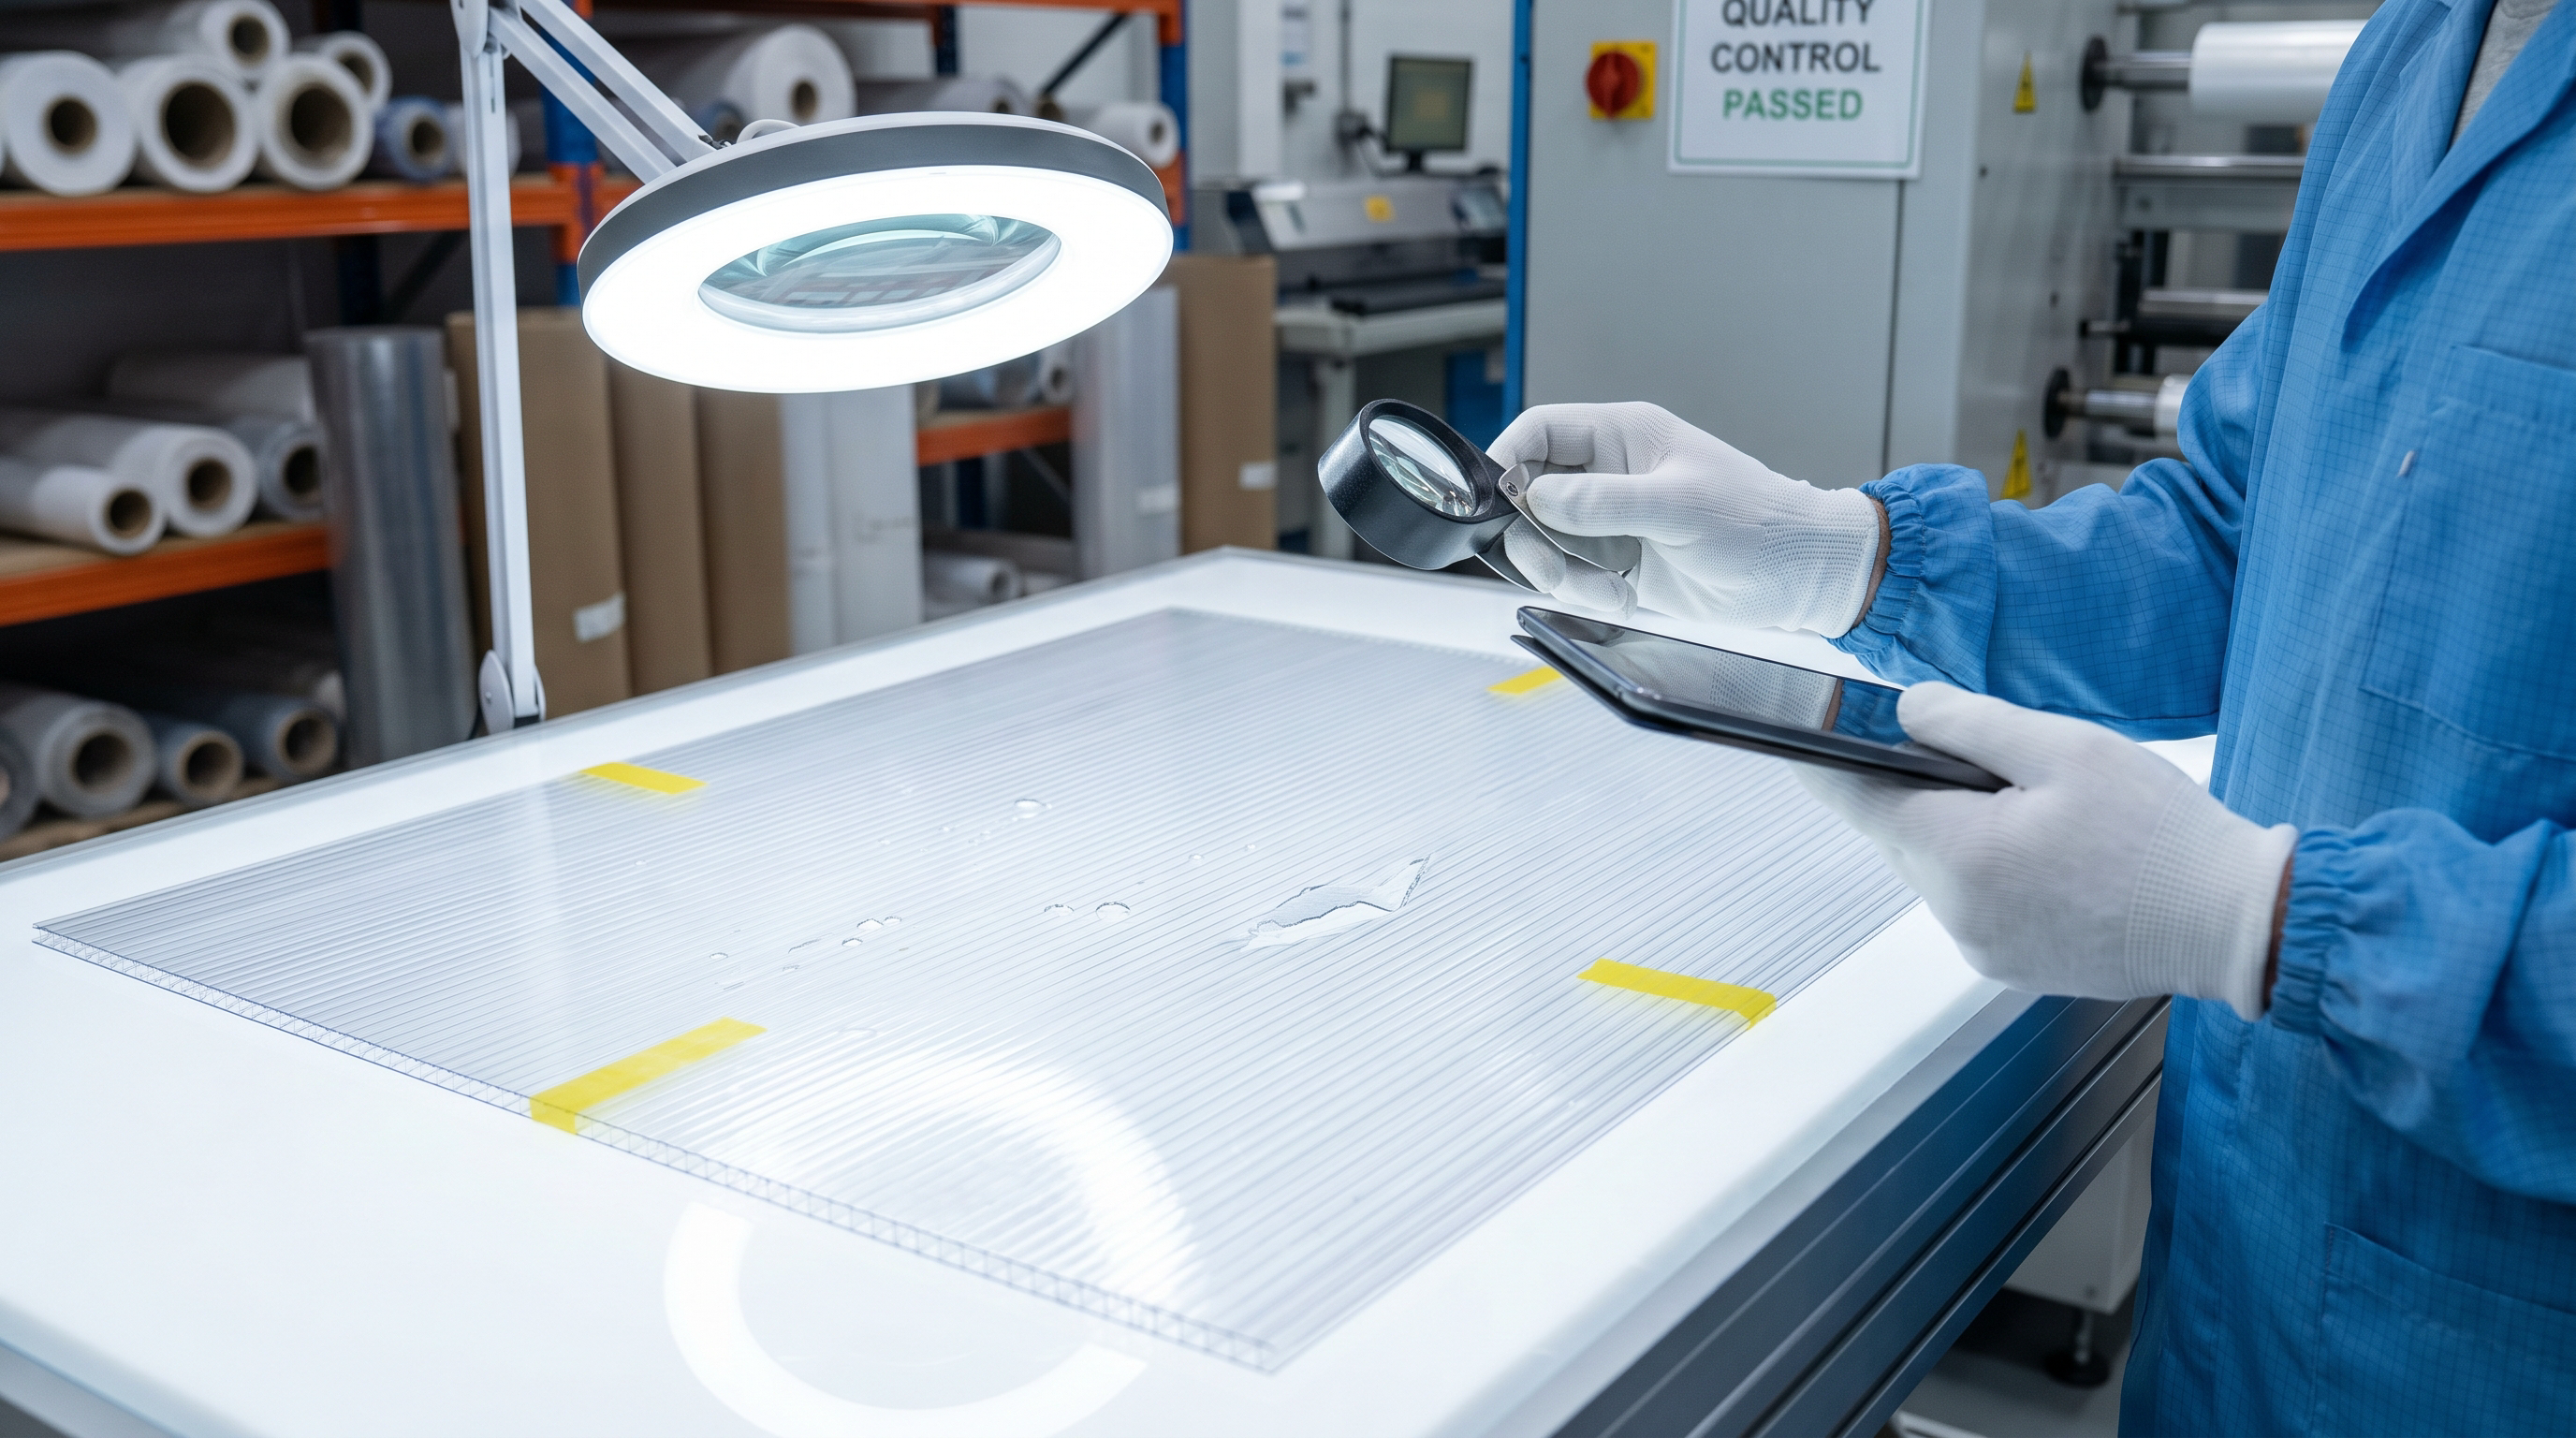
6. Surface Contamination and Protective Film Issues
What it looks like: Staining, ghosting, or permanent adhesion marks on the panel surface after removal of the protective film. In severe cases, the film leaves a chemical residue that cannot be removed.
What causes it:
- Incorrect film specification: Using a film with too-aggressive adhesive, or one that is not compatible with polycarbonate's surface chemistry
- Film left on too long: Films exposed to UV before removal bond progressively harder; some become chemically bonded and cannot be removed cleanly
- Heat entrapment under the film: On dark-coloured or tinted panels, temperatures under the protective film can reach levels that soften the adhesive
Installation note: Protective film should be removed from all polycarbonate panels immediately after installation or within the timeframe specified by the manufacturer — typically within 60–90 days of installation, before the first UV season.
A Quality Check Framework at Delivery
Use this quick checklist when polycarbonate panels arrive on site:
□ Panel width consistent along length (check every 10th panel)
□ Standing seam: integral, not welded or glued
□ Standing seam height: minimum 15mm, consistent
□ Panel face: no visible oil canning under side-lit inspection
□ Cell ends: uniform, no collapsed cells visible
□ Protective film: intact, markings legible
□ Test certificate documents received with delivery
□ Batch matches the tested specification
Rejection at delivery is far less costly than replacement after installation.
Coxwell manufactures all panels at our own facility in Alwar, Rajasthan, with in-process quality checks at extrusion, dimensional inspection, and batch testing. Request our quality assurance documentation for any project.
Next step
Speak to a Coxwell engineer.
Our team can help you specify the right system, review your BOQ, or answer technical questions about your project.